ratings-display.rating-aria-label(1)
Feb 27


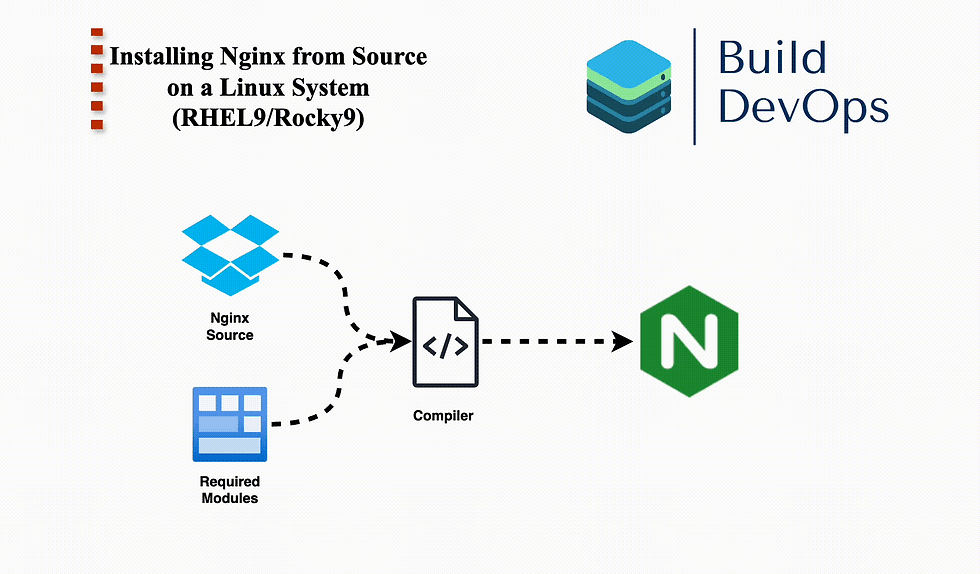
In this blog, I'll guide you through installing Nginx from source on a Linux system. We'll walk through each step, from installing the necessary development tools to configuring and installing Nginx. Let's get started!
Step 1: Install Development Tools
First, you'll need to install a group of development tools required for building software from source. This includes compilers, libraries, and other utilities.
[root@siddhesh ~]# dnf groupinstall "Development Tools"Step 2: Install Required Libraries
Next, we need to install the pcre library, which is essential for Nginx to support regular expressions, as well as the perl and perl-core packages, which are needed for certain build tasks.
[root@siddhesh ~]# dnf install pcre pcre-devel -y
[root@siddhesh ~]# dnf install perl perl-core -y
Step 3: Download Nginx, OpenSSL, and zlib Source Files
Now, navigate to the /usr/local/src directory, where we'll download the source files for Nginx, OpenSSL, and zlib.
[root@siddhesh ~]# cd /usr/local/src
[root@siddhesh src]#
Download the source files using the following commands:
[root@siddhesh src]# wget http://nginx.org/download/nginx-1.25.0.tar.gz
[root@siddhesh src]# wget http://zlib.net/zlib-1.3.1.tar.gz
[root@siddhesh src]# wget https://github.com/openssl/openssl/releases/download/openssl-3.0.14/openssl-3.0.14.tar.gz
Step 4: Extract the Downloaded Files
After downloading, extract each of the tarball files.
[root@siddhesh src]# tar -zxvf nginx-1.25.0.tar.gz
[root@siddhesh src]# tar -zxvf openssl-3.0.14.tar.gz
[root@siddhesh src]# tar -zxvf zlib-1.3.1.tar.gz
Step 5: Configure Nginx with Required Modules
Navigate to the Nginx source directory and configure the build. Here, we're specifying various paths and enabling important modules such as SSL, HTTP/2, and gzip.
[root@siddhesh src]# cd nginx-1.25.0
[root@siddhesh nginx-1.25.0]#
Run the configure script with the desired options:
[root@siddhesh nginx-1.25.0]# ./configure --prefix=/etc/nginx --sbin-path=/usr/sbin/nginx --conf-path=/etc/nginx/nginx.conf --error-log-path=/var/log/nginx/error.log --http-log-path=/var/log/nginx/access.log --pid-path=/var/run/nginx.pid --lock-path=/var/run/nginx.lock --with-http_ssl_module --with-http_v2_module --with-http_gzip_static_module --with-zlib=/usr/local/src/zlib-1.3.1 --with-openssl=/usr/local/src/openssl-3.0.14Step 6: Build and Install Nginx
Now, it's time to compile the source code and install Nginx. This may take a few minutes.
[root@siddhesh nginx-1.25.0]# make
[root@siddhesh nginx-1.25.0]# make install
Step 7: Create Nginx Systemd Service File To manage Nginx as a service, create a systemd service file. Here's a sample configuration:
[root@siddhesh ~]# cat /usr/lib/systemd/system/nginx.service
[Unit]
Description=The NGINX HTTP and reverse proxy server
After=network.target
[Service]
Type=forking
ExecStartPre=/usr/sbin/nginx -t
ExecStart=/usr/sbin/nginx
ExecReload=/usr/sbin/nginx -s reload
ExecStop=/bin/kill -s QUIT $MAINPID
PIDFile=/var/run/nginx.pid
PrivateTmp=true
[Install]
WantedBy=multi-user.target
[root@siddhesh ~]#
Step 8: Reload Systemd and Start Nginx
After creating the service file, reload the systemd daemon, enable Nginx to start at boot, and then start the Nginx service.
[root@siddhesh ~]# systemctl daemon-reload
[root@siddhesh ~]# systemctl enable nginx
[root@siddhesh ~]# systemctl restart nginx
Step 9: Verify the Nginx Installation
Finally, check the installed Nginx version to ensure everything is set up correctly.
[root@siddhesh ~]# nginx -v
nginx version: nginx/1.25.0
[root@siddhesh ~]#
Conclusion
You've successfully installed Nginx from source on your Linux system! By compiling Nginx with OpenSSL and zlib, you've enabled powerful features like SSL/TLS and gzip compression. You can now start configuring your Nginx server according to your needs.


Comentários